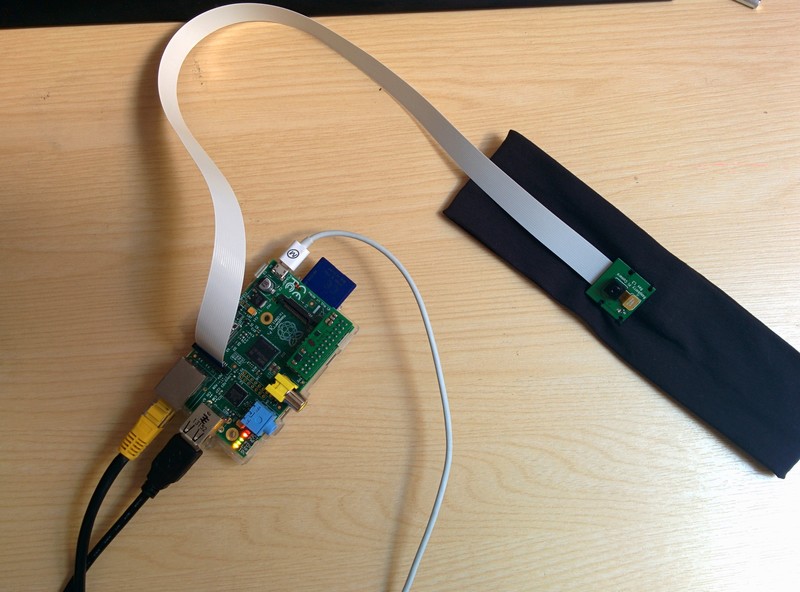
The Raspberry Pi Head Cam
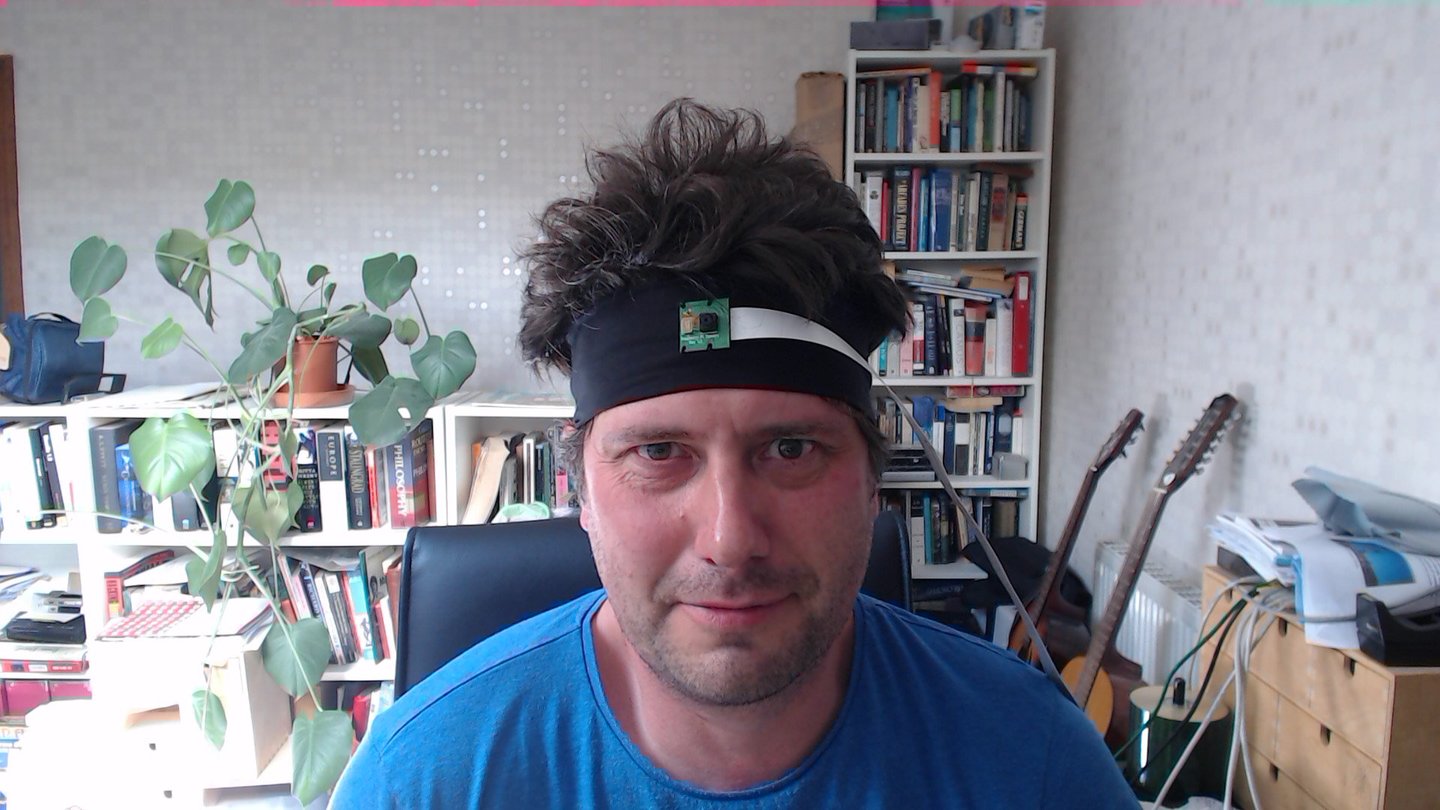
While you ponder the magnificance of the image above, let me explain how it was that I came to be sitting in my office wearing a Raspberry Pi camera sewn onto one of Claire’s Accessories finest headbands. That I’m posting it at all should answer the question that first popped into your head “Has he no shame?” to which the answer is a resounding no
It all started in Starbucks on Street Lane, as all things Clare Garside are wont to do. You can read Claire’s motivations and thinking behind the project on her blog post. I can’t remember exactly how the conversation went, probably as I was still hyperventilating having, to paraphrase Withnall, “gone cycling by mistake”. Anyway by the end of it I’d left with one of these
XLoBorg
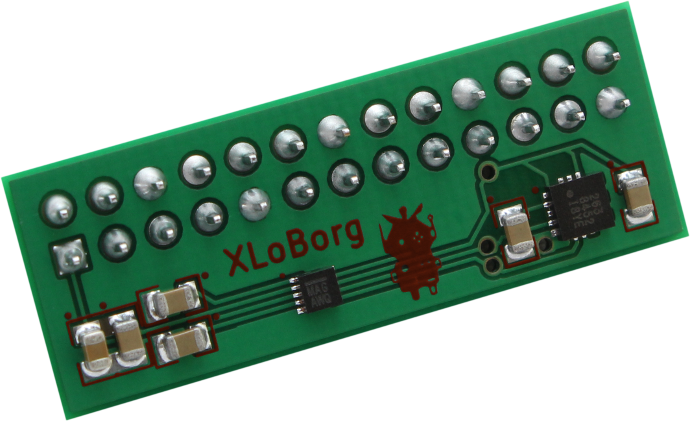
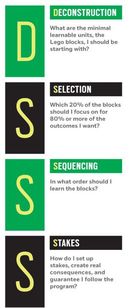
XLoBorg is a motion and direction sensor for the Raspberry Pi. The plan was that we, and I say we with the hyperventaliting caveat still fresh in your minds, would learn to dance using some of the ideas from Tim Ferriss’ The 4-Hour Chef in particluar exploring his ideas around Meta-Learning.

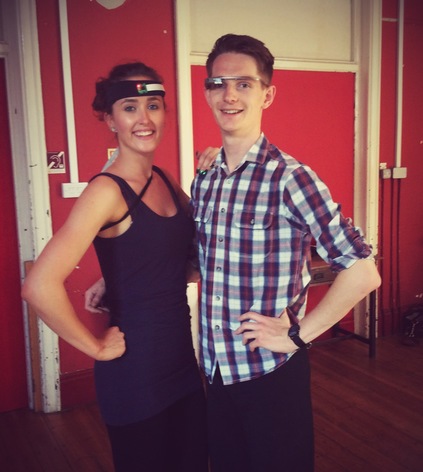
So how did I end up with the rather fetching headband? I hear you ask. It all started when Claire mentioned that the Ten Centre had a Google Glass, well at that moment the project just expanded to incorporate Glass.
First Principles
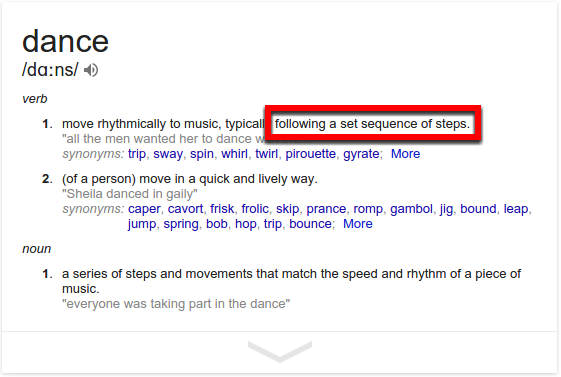
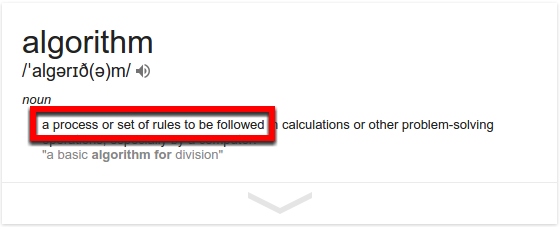
Nothing new there, indeed Mark Dorling has an excellent resource Get with the ‘algor-rhytm’ on his digitalschoolhouse.org.uk site.
We wanted to find out
- what a dance looked like from the dancers point of view.
- what a dance felt like from a dancers point of view.
The Google Glass would give us one POV, a Raspberry Pi headcam could give us the other, the same Raspberry Pi with the XLoBorg would give us a record of the motion and direction, the G force exerted on the dancer and thus from humble beginnings I give you the “Dance, sensor, camera thingymebob Pi™“
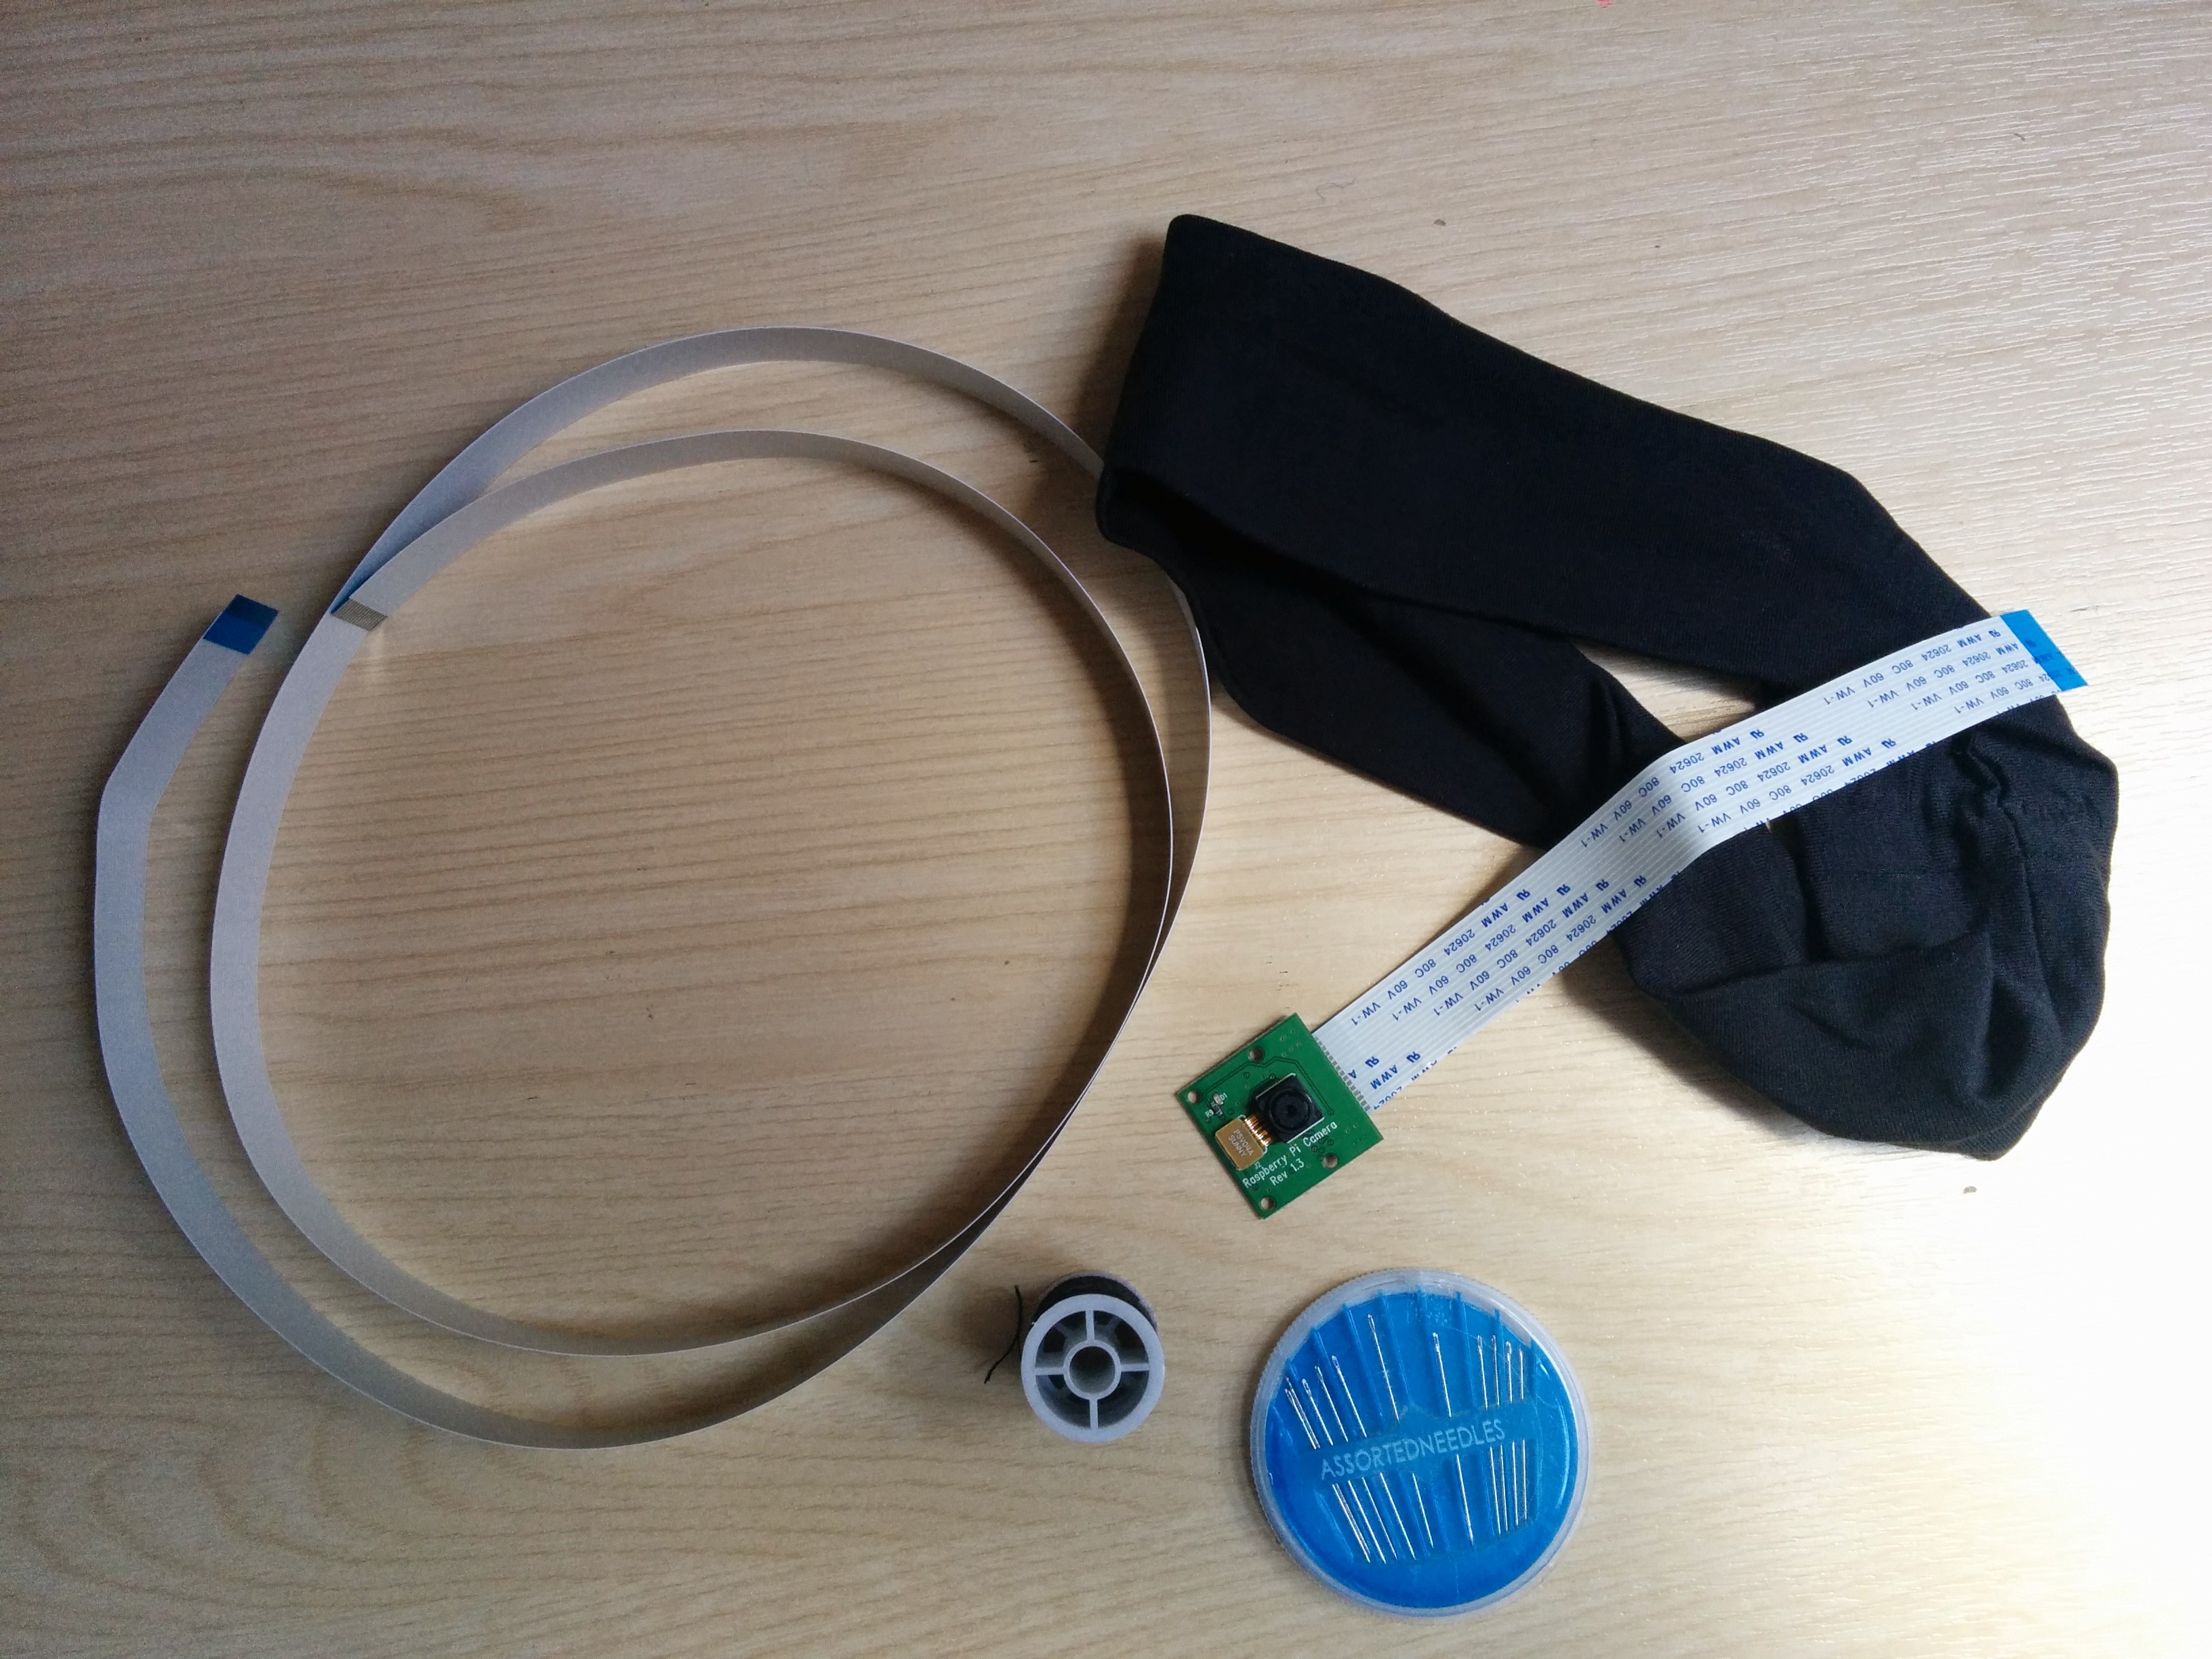
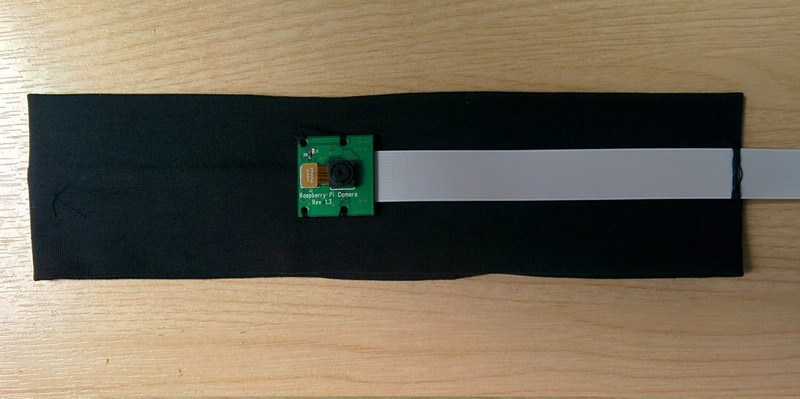
Getting the thingymebob™ working
Pi Camera
As I’d done some time-lapse work with the Pi Camera before the initial plan was to capture a series of pictures from the camera on the headband and make a time-lapse video out of resulting stills. So testing was required, hence the image at the start of this post. Testing pointed out the first real problem with the endeavour, the shutter speed was too slow and the images where blurry, oh and they were 90º off.
So first solution involved changing the mode of the camera to sports which would force a faster shutter speed and adding rot 90 to rotate the resulting image.
modififications made I ended up with dance_capture.sh
#!/bin/bash
# script to take timelaspe images of a dance using a head mounted raspberry pi camera (don't ask) rotated at 90 degrees
# verion 1.2 RBM 28/07/14 amended for dance capture, head band

# This script will run at startup and run for a set time taking images every x seconds
# it is based on the scripts found at
# https://github.com/raspberrypi/userland/issues/84
# and http://www.stuffaboutcode.com/2013/05/time-lapse-video-with-raspberry-pi.html


# for the format of the final images we will use  date
# the output directory will be /home/pi/dance_capture

filename=$(date +"%d%m_%H%M%S")_%04d.jpg
outdir=/home/pi/dance_pics/
length=1800000 # 1/2 hours
rate=1000 # 1000 miliseconds = 1 second


/opt/vc/bin/raspistill -ex sports -rot 90 -o  $outdir/$filename -tl $rate -t $length &
Thanks to Martin O’Hanlon’s excellent <Stuff about=”code” /> blog for the scripts.
The images where still too blurred, so a Plan B was required.
Raspivid
Enter the 90 fps mode for the Raspberry Pi camera, you can read about it on the Raspberry Pi Foundation blog
dance_capture.sh became the slightly less documented 90frames.sh with a sleep to give the dancer time to get into position before recording.
#! /bin/sh
# script to capture vga video at 90fps for dance project
sleep 30
raspivid -rot 90 -w 640 -h 480 -fps 90 -t 900000 -o /home/pi/dance_pics/ninetyfps_dance.h264 &
As the blog explains the 90fps mode is limited to 640x480 which is more than enough for our lttle experiment.
XLoBorg
hack is the only word I can use to describe what I did to xloborg.py which came from the PiBorg examples this snippet is my only alteration, and proper programmers will be able to spot why it took me an age to find xloborg_results
# Auto-run code if this script is loaded directly
if __name__ == '__main__':
    # Load additional libraries
    import time
    # open a file to write the results to
    f = open('xloborg_results', 'w')
    # Start the XLoBorg module (sets up devices)
    Init()
    try:
        # Loop indefinitely
        while True:
            # Read the
            x, y, z = ReadAccelerometer()
            mx, my, mz = ReadCompassRaw()
            temp = ReadTemperature()
            everything = (x, y, z, mx, my, mz, temp)
            everythingString = str(everything)
            # print 'X = %+01.4f G, Y = %+01.4f G, Z = %+01.4f G, mX = %+06d, mY = %+06d, mZ = %+06d, T = %+03d°C' % (x, y, z, mx, my, mz, temp)
            f.write (everythingString)
            time.sleep(0.1)
    except KeyboardInterrupt:
        # User aborted
        pass
xloborg_results did give me a 1.1MB file full of readings.
(-1.0625, -0.421875, 0.15625, 936, 85, -85, 3)(-0.828125, -0.265625, 0.265625, 930, 86, -84, 3)(-0.96875, -0.078125, 0.328125, 931, 67, -68, 3)(-1.109375, -0.046875, 0.484375, 950, 35, -61, 4)(-0.859375, -0.15625, -0.171875, 948, 23, -50, 4)(-1.046875, -0.390625, 0.4375, 942, 23, -42, 3) and so on....
which correspond to:
X, Y, Z, mX, mY, Mz, T in the python snippet above, so for the moment I’m happy that it worked. The next challenge is to represent this data in a meaningful way, so I’ll be looking at gnuplot to do that.
tbc.
This year’s fashion must haves
